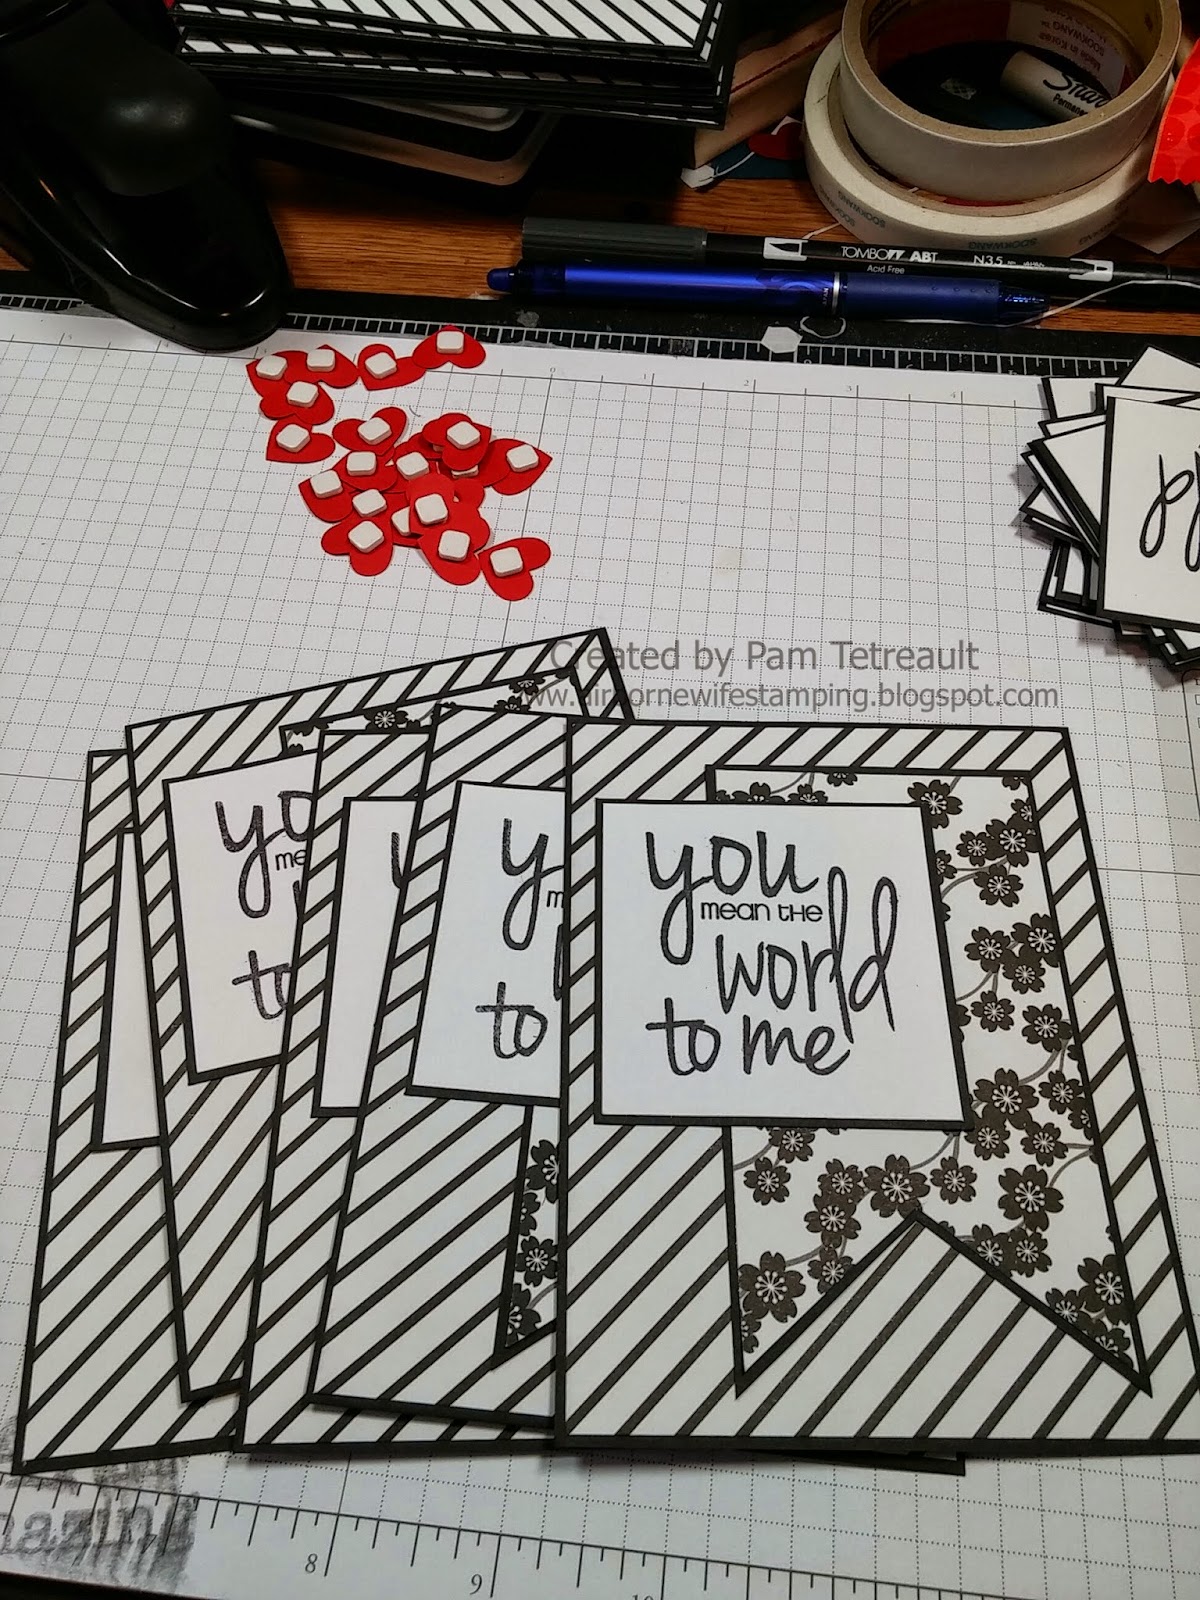
I ended up with 21 all together. These are super easy to make ~ the ONLY time consuming thing is the banner and truthfully, you could just make that banner into a long rectangle and the cards would be just as nice. I might do that next time.
I cut the banner pieces a little longer than I needed after the tails were cut. I would cut them two at a time to save some time, then cut each one down to 4 1/2" long. I then adhered each one to a black panel and trim the top and the banner tails on it as well.
One banner down.. 19 more to go (I was putting together 20 cards this morning as I made the sampel one last night)
After the banners are all trimmed and put together, I'm ready to put these babies together.
Getting after it.. to get them put together!
*MEASUREMENTS:
card base: 8 1/2" x 11" scored at 4 1/4"
solid layer: 4 1/8" x 5 3/8"
pattern layer: 4" x 5 1/4"
banner
solid layer: 2 5/8" x ... not really measured, I cut them at 5 1/2" then after putting the pattern piece on, I trimmed it down.
pattern piece: 2 1/2" x 4 1/2" *note, that is after the banner tails are cut. I cut it more like 4 3/4" or 5" and then trim the tails, then cut the banner to 4 1/2" hope that makes sense.
sentiment: *this is determined by what size your sentiment stamp is, adjust accordingly
solid layer: 2 5/8" x 2 5/8"
pattern: 2 1/2" x 2 1/2"
*SUPPLIES:
card stock: white, black
pattern paper: Imaginisce *doesn't have a name on the strip at the end of the paper
stamps: Stamps of Life Phrases2Say
ink: Hero Arts Black
accessories: Scor-Pal, Martha Stewart Heart Border Punch and Foam Tape Dots
Here's the sketch I used:
thanks for looking ~
have a great airborne day!
God Bless All Our Military.. each and every one of them


No comments:
Post a Comment